“FEATHERWEIGHT” Front Suspension Installation ‘How To’
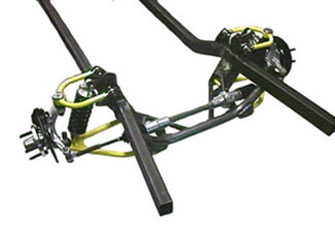
NOTE: With this front suspension system, not only will you get as much as 400 lbs. or more off the front of you car or truck, it makes more engine compartment room, and greatly enhances the rigidity of your chassis when the motor is tied in as well.
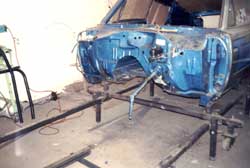
#1 Support car on jack stands or rack. Once all the critical dimensions are taken, such as the spindle center line to the firewall relationship etc., remove stock front frame, suspension and inner fenders of your project. Clean and smooth firewall. If you’re going to keep stock sheet metal on your car, it is not necessary to remove the front fenders or core support to achieve a perfect fit. The stock core support can be welded directly to the new “Featherweight” frame in most cases.
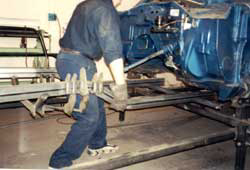
#2 Next, move new frame into position and locate. Block up with jack stands or something suitable and locate. Tack weld to hold in position after it is located as in Step 3.
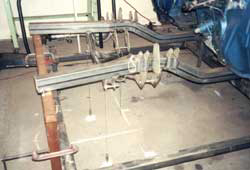
#3 This is the way you should locate the new frame: Use plumb bobs and a chalk line to find the center line of the car and make all measurements in relation to it. Lay it out on the floor as shown. This is an accurate and sure way to locate and double check dimensions.
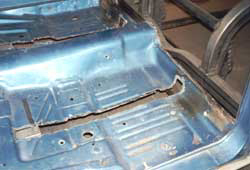
#4 Cut 2″ wide slots in the floor (similar to frame connector installation) from the new front frame to the rear frame section, or in this case the 2×3 crossmember as shown.
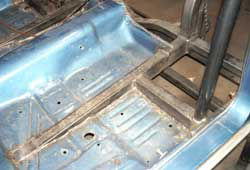
#5 Add a length of 2×3 box steel tubing as shown and weld into place. Weld all of the sheet metal flooring to the frame material. Also shown is an outrigger welded into place with the main hoop of the roll cage. You will also want to add outriggers to the forward area for the A-pillar roll cage tubes to sit on. The outriggers will be welded from the new frame to the rocker box, similar to the one shown.
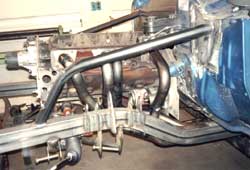
NOTE: You’ll need a frame support running from the A-pillar tubes through the firewall, down to the new frame. These support tubes are included in our 12-point roll cages. *TAKE YOUR TIME* *MEASURE TWICE*


